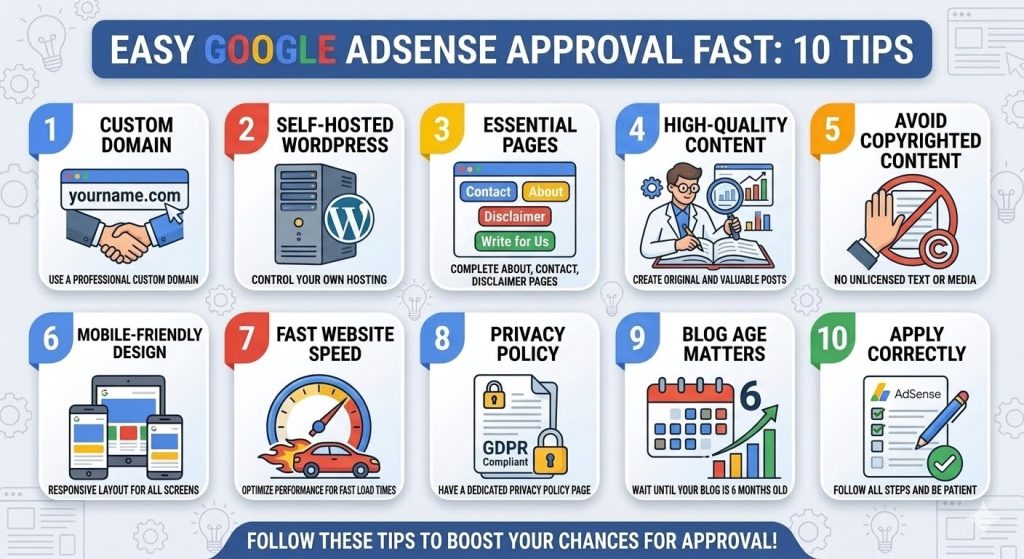
Easy Google AdSense Approval Fast – 10 Tips
Do you want to earn money from your blog?
Google AdSense is the best way to start.
But getting approval is not easy.
Many bloggers get rejected again and again.
Why? Because they make simple mistakes.
In this guide, I will show you exactly how to get Google AdSense approval fast.
These 10 tips work for beginners in Pakistan, India, Bangladesh, and other countries.
Let us begin.
What is Google AdSense Approval?
Google AdSense is an advertising platform.
You put ads on your blog. When visitors click those ads, you earn money.
It is free to join. You only need a blog or website.
Millions of bloggers use AdSense to earn passive income.
But Google only approves quality websites.
That is why you need to follow these tips.
Tip 1: Google AdSense Approval: Use a Custom Domain
Google does not like free domains.
Free domains like .blogspot.com, .wordpress.com, or .weebly.com are very hard to approve.
What to do:
Buy a custom domain from Namecheap, Cloudflare, or Hostinger.
Price: $5 to $15 per year.
Good domains:
- .com
- .net
- .org
- .site
Example: onlinearning.site (yeh aapke paas already hai ✅)
A custom domain shows Google that you are serious about blogging.
Tip 2: Use Self-Hosted WordPress
Google prefers self-hosted WordPress websites.
Free platforms like Blogger or Wix are difficult to approve.
What to do:
Buy hosting from a good company. Hostinger, Namecheap, or Bluehost are good options.
Install WordPress.org (not WordPress.com).
Aap already WordPress par ho — yeh bohat acha hai ✅
Tip 3: Create Essential Pages Before Applying
Google checks your website completely.
You must have these pages before applying.
Essential pages:
| Page | Why it is important |
|---|---|
| About Page | Tells Google who you are and what your blog is about |
| Contact Page | Shows that you are a real person/business |
| Privacy Policy Page | Legally required for AdSense |
| Terms of Service | Optional but recommended |
If you do not have these pages, make them today.
Tip 4: Google AdSense Approval: Write High-Quality Content
This is the most important tip.
Google only approves websites with unique, helpful content.
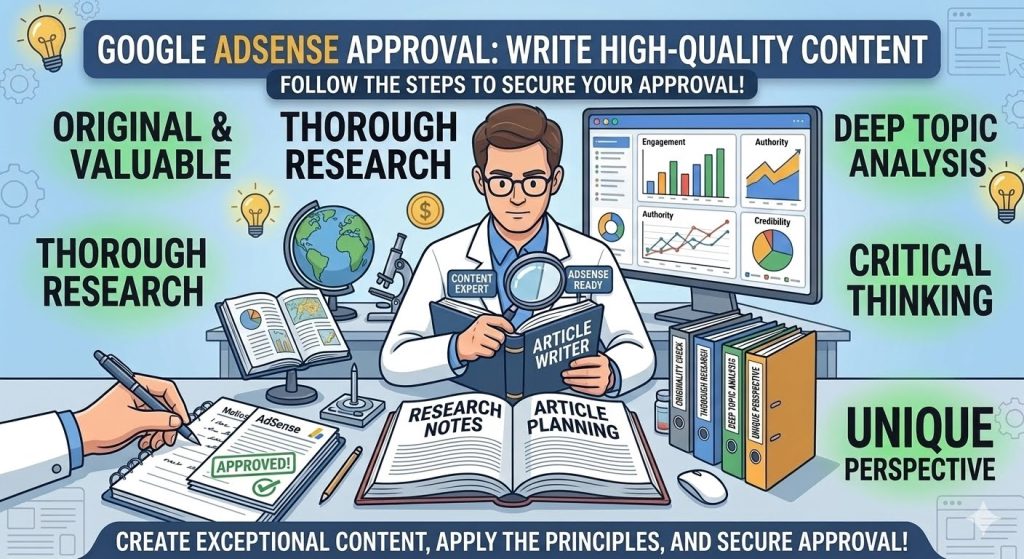
What is good content?
- 600+ words per post
- Original (not copied from anywhere)
- Helpful to readers
- Proper grammar and spelling
- Images, headings, and bullet points
What is bad content?
- Copied from other websites
- Short posts (less than 300 words)
- Filled with grammatical errors
- No images or headings
How many posts do you need?
At least 20 to 30 posts before applying.
Each post should be 800 to 1500 words.
Aapke paas already 6-7 posts hain — aur 15-20 posts likhne hain ✅
Tip 5: Avoid Copyrighted Content
Never use copyrighted images, videos, or text.
Google checks for copyright violations.
What to avoid:
- Images from Google search (many are copyrighted)
- Copying text from other blogs
- Using movie or brand names without permission
What to use instead:
- Free images from Unsplash, Pexels, Pixabay
- Your own images
- AI-generated images (with proper rights)
Aap Unsplash se images use kar rahi ho — yeh bohat acha hai ✅
Tip 6: Make Your Website Mobile Friendly
Most people use phones to browse the internet.
Google checks if your website works on mobile.
How to check:
Open your website on your phone.
Can you read the text easily? Are buttons clickable? Does the menu work?
How to fix:
Use a mobile-friendly WordPress theme. Kadence, Astra, and GeneratePress are good options.
Aap Kadence use kar rahi ho — yeh mobile friendly hai ✅
Tip 7: Google AdSense approval Your Website Speed
Fast websites get approved faster.
If your website takes more than 3 seconds to load, Google may reject you.
How to check speed:
Use Google PageSpeed Insights. Enter your URL and click “Analyze”.
How to improve speed:
- Use a good hosting company
- Compress images (use Smush or ShortPixel plugin)
- Use a caching plugin (WP Rocket or W3 Total Cache)
- Use a CDN (Cloudflare is free)
Tip 8: Add a Privacy Policy Page
This is mandatory for AdSense.
Google requires a Privacy Policy page on every website that uses Google AdSense Approval.
What to include in Privacy Policy:
- What information you collect
- How you use cookies
- How visitors can contact you
How to create one:
Search “Privacy Policy generator” on Google. Use a free tool. Fill in your details. Copy and paste to a new page on your website.
Tip 9: Wait Until Your Blog is 6 Months Old
Google prefers older websites.
New websites (less than 3 months old) are often rejected.
Best time to apply:
- 6 months after starting your blog
- But some get approved in 2-3 months with good content
Aapki website June 2026 mein start hui hai? Agar June hai toh abhi 1-2 months wait karna behtar hai.
Tip 10: Apply Correctly and Be Patient
Many bloggers make mistakes while applying.
How to apply correctly:
- Go to Google AdSense website
- Sign in with your Google AdSense approval account
- Enter your website URL
- Enter your address and payment details
- Submit your application
After applying:
Google will review your website. It takes 1 to 4 weeks.
Do not apply again while waiting. It will reset your application.
If rejected, read the reason. Fix the problem. Apply again after 30 days.
Tip 11: Use a Simple and Clean Website Theme
Your website design matters for Google AdSense approval.
Google wants websites that are easy to read and navigate.
What to avoid:
- Too many popups
- Flashy animations
- Hard to read fonts
- Cluttered sidebar
What to use:
- Clean white background
- Easy to read fonts (Arial, Roboto, Open Sans)
- Simple menu structure
- Proper spacing between paragraphs
Tip 12: Add an XML Sitemap
A sitemap helps Google AdSense Approval find all your pages.
Without a sitemap, Google AdSense approval may miss some of your posts.
How to add a sitemap:
If you use Rank Math SEO:
- Go to Rank Math → General Settings → Sitemap
- Enable sitemap
- Your sitemap URL will be:
https://onlinearning.site/sitemap.xml
How to submit to Google:
- Go to Google Search Console
- Click “Sitemaps” on the left
- Enter
sitemap.xml - Click “Submit”
This helps Google index your pages faster.
Tip 13: Remove Broken Links
Broken links are links that go to pages that do not exist.
Google AdSense Approval does not like broken links.
How to find broken links:
Use a free tool like Broken Link Checker plugin.
Or check Google Search Console for 404 errors.
How to fix:
- Update the link to the correct URL
- Remove the link if the page no longer exists
- Redirect old URLs to new ones
Tip 14: Get Some Traffic Before Applying
Google AdSense Approval wants to see that real people visit your website.
You do not need thousands of visitors. But some traffic helps.
How to get initial traffic:
- Share your posts on WhatsApp and Facebook
- Join Facebook groups related to your niche
- Share on Instagram and LinkedIn
- Answer questions on Quora with links to your blog
Even 50 to 100 visitors per day is good for approval.
Tip 15: Make Sure Your Contact Page Works
Your contact page must have a working email address or form.
Google AdSense Approval may try to contact you during the approval process.
What to include on contact page:
- Your email address
- A contact form (WPForms or Contact Form 7)
- Response time (example: “We reply within 24 hours”)
If Google AdSense Approval cannot contact you, they may reject your application.
More Detailed Google AdSense Approval Steps for Each Tip
Let me explain some tips in more detail.
Detailed Tip 4 – Writing High Quality Content:
High quality content means your posts are helpful, original, and well written.
Each post should have:
- A clear title (H1)
- Subheadings (H2, H3) to break up text
- Short paragraphs (2 to 3 sentences maximum)
- Images with alt text
- Bullet points or numbered lists
- A conclusion that summarizes the post
Avoid:
- Spelling mistakes (use Grammarly free version)
- Grammar errors
- Copying from other websites
- Very short posts (less than 400 words)
Example of a good Google AdSense Approval blog post structure:
- Catchy title
- Introduction (50 to 100 words)
- Main points with subheadings
- Images every 300 to 500 words
- FAQ section at the end
- Conclusion with call to action
Detailed Tip 8 – Privacy Policy Page:
Your Privacy Policy page must be easy to find.
Put a link in your website footer.
What to include in Privacy Policy:
- What personal data you collect (names, emails)
- How you use cookies
- How visitors can contact you
- Whether you use third party services (like Google Analytics)
You can use a free Privacy Policy generator. Search “Privacy Policy generator” on Google AdSense Approval. Fill in your blog name and email. Copy the generated text to a new page on your website.
Common Google AdSense Approval Myths
There are many myths about Google AdSense approval. Let me clear them.
Myth 1: You need 50,000 visitors per month
False. Many bloggers get approved with 100 to 500 visitors per month.
Myth 2: You cannot use AI content
False. You can use AI content. But you must edit it and add your own value.
Myth 3: Your blog must be in English
False. Google AdSense approval blogs in Urdu, Hindi, Arabic, and many other languages.
Myth 4: You need to be 21 years old
False. You only need to be 18. Some countries allow 16 with parental consent.
Myth 5: You must remove all ads before applying
True. Remove any other ads before applying for AdSense.
What Happens After Approval?
Once you get approved, congratulations!
You can now place ads on your website.
How to add ads to your website:
- Log in to your AdSense account
- Go to “Ads” → “By ad unit”
- Create a new ad unit (choose size and type)
- Copy the ad code
- Paste the code on your website (using a plugin like Ad Inserter)
Where to place ads:
- Sidebar
- Within blog posts (after 2nd or 3rd paragraph)
- Below the title
- Above the footer
Do not place too many ads. It makes your website look bad and visitors may leave.
How to Increase AdSense Earnings After Approval
Getting approved is just the first step.
To earn more money, you need more traffic.
Ways to increase traffic:
- Publish more posts (aim for 100+ posts)
- Share on social media daily
- Optimize your posts for SEO
- Build backlinks
- Start an email list
Average AdSense earnings:
| Traffic per day | Estimated monthly earnings |
|---|---|
| 100 visitors | $1 to $5 |
| 500 visitors | $10 to $50 |
| 1,000 visitors | $50 to $200 |
| 5,000 visitors | $250 to $1000 |
| 10,000+ visitors | $1000+ |
The more traffic you have, the more you earn.
Frequently Asked Questions (More)
Q9: Can I apply for AdSense with a new blog?
Yes, but it is better to wait 3 to 6 months. New blogs are often rejected.
Q10: Does AdSense accept blogs in Urdu?
Yes. Google AdSense accepts many languages including Urdu, Hindi, Arabic, and Bengali.
Q11: How many times can I apply for AdSense?
You can apply again after 30 days if rejected. There is no limit.
Q12: Do I need a separate bank account for AdSense?
Yes, you need a bank account in your name. EasyPaisa and JazzCash also work for some countries.
Q13: Can I use my friend’s AdSense account on my blog?
No. AdSense accounts are for one person only. You cannot share or transfer accounts.
Q14: Does AdSense pay for clicks only?
Yes and no. You earn when someone clicks an ad. Some ad types pay for impressions (views).
Q15: Can I use AdSense on multiple websites?
Yes. You can add multiple websites to one AdSense account.
More Tips for Google AdSense Approval
Here are additional tips to increase your chances of approval.
Tip 16: Remove Other Ads Before Applying
If you have any other ads on your website, remove them.
Google does not like competing ad networks.
Remove ads from:
Popup ads
Banner ads
Affiliate banners
Any other third party ads
After approval, you can add AdSense ads only.
Tip 17: Check Your Website on Different Devices
Your website must look good on all devices.
Check on:
Mobile phone (iPhone, Android)
Tablet (iPad, Samsung Tab)
Desktop computer
Laptop
If something looks broken, fix it before applying.
Tip 18: Use Proper Categories and Tags
Organize your posts into categories.
Do not leave all posts in “Uncategorized”.
Categories help Google understand your website structure.
Example categories:
Blogging Tips
Online Earning
SEO
Tip 19: Add Internal Links
Link your posts to each other.
Internal links help Google crawl your website better.
Example: In one post, link to another related post on your blog.
You already have internal links — this is good.
Tip 20: Add Social Media Share Buttons
Social media buttons show that you want to share your content.
Use a plugin like Social Warfare or Shared Counts.
But do not add too many buttons. 3 to 4 are enough.
Sample Schedule to Reach 30 Posts
Here is a simple schedule to write 30 posts.
Month Posts to write Total posts
Month 1 8 posts 8
Month 2 8 posts 16
Month 3 7 posts 23
Month 4 7 posts 30
Write 2 posts per week. In 4 months, you will have 30 posts.
You already have 6-7 posts. You need 23-24 more.
Motivation to Keep Writing
Do not feel overwhelmed.
You do not need 30 posts today.
Write one post at a time.
Celebrate small wins.
Bonus Tips for Fast Google AdSense Approval
Here are extra tips to increase your chances.
1. Post consistently.
Publish at least 1 post per week. Google AdSense Approval likes active websites.
2. Get some traffic.
Google wants websites with real visitors. Share your posts on social media to get initial traffic.
3. Remove broken links.
Check for 404 errors. Fix or remove broken links.
4. Use a simple design.
Avoid popups and too many ads before approval. Keep your website clean.
5. Add an XML sitemap.
This helps Google find all your pages. Use Rank Math or Yoast to create a sitemap.
Common Reasons for Google AdSense Approval Rejection
| Reason | What to do |
|---|---|
| Insufficient content | Write more posts (20-30) |
| Low quality content | Improve your writing, add images |
| Copyrighted content | Remove any copied text or images |
| No essential pages | Add About, Contact, Privacy Policy |
| Website too new | Wait 3-6 months |
| Navigation issues | Make menu clear and simple |
How Many Posts Do You Really Need?
This is a common question.
| Posts | Chance of approval |
|---|---|
| 5 to 10 posts | ❌ Very low |
| 15 to 20 posts | ⚠️ Low to medium |
| 20 to 30 posts | ✅ Good chance |
| 30 to 50 posts | ✅ High chance |
Aapke paas 6-7 posts hain. Target 30 posts rakhein. Phir apply karein.
What to Do If Rejected?
Do not worry. Many bloggers get rejected the first time.
Step by step after rejection:
- Read the rejection reason carefully
- Fix the problem (write more posts, add pages, improve design)
- Wait 30 days
- Apply again
Some bloggers get approved on their 2nd or 3rd try. Do not give up.
Frequently Asked Questions
Q1: How long does Google AdSense approval take?
Usually 1 to 4 weeks. Sometimes faster, sometimes slower.
Q2: Can I get Google AdSense approval without traffic?
Yes, but it is harder. Google prefers websites with some traffic.
Q3: Do I need to be 18 years old?
Yes, you must be 18 or have a parent/guardian sign up for you.
Q4: Can I use AI-generated content for Google AdSense Approval?
Yes, but you must edit it. Do not copy-paste directly. Add your own value.
Q5: How much money can I earn from Google AdSense Approval?
It depends on your traffic and niche. Beginners earn $5 to $50 per month. Professionals earn $500 to $5000+.
Q6: Is AdSense halal?
Most scholars say display ads are halal as long as the ads are not for haram products.
Q7: Can I apply with a free domain?
You can try, but approval is very difficult. Custom domain is recommended.
Q8: What is the minimum payout?
$100 for most countries. You get paid via bank transfer or check.
Success Story
Story: Sara from Lahore
Sara started her blog about beauty tips. She wrote 25 posts in 4 months. She added About, Contact, and Privacy Policy pages. She applied for AdSense. She got rejected the first time. She wrote 10 more posts. She applied again after 45 days. She got approved. Now she earns $200 per month from AdSense.
If she can do it, you can too.
Conclusion
Getting Google AdSense approval is not luck.
It is a process.
Follow these 10 tips:
- Use a custom domain
- Use self-hosted WordPress
- Create essential pages
- Write high-quality content
- Avoid copyrighted content
- Make your website mobile friendly
- Improve website speed
- Add a Privacy Policy page
- Wait until your blog is 6 months old
- Apply correctly and be patient
Do not apply with only 5 posts.
Write at least 20 to 30 posts first.
Make sure your website looks professional.
Add essential pages.
Be patient.
Your AdSense approval will come.